Drain Repair · Part 4 — First rain test — repair update
By Greg the Geeza · 14 October 2026
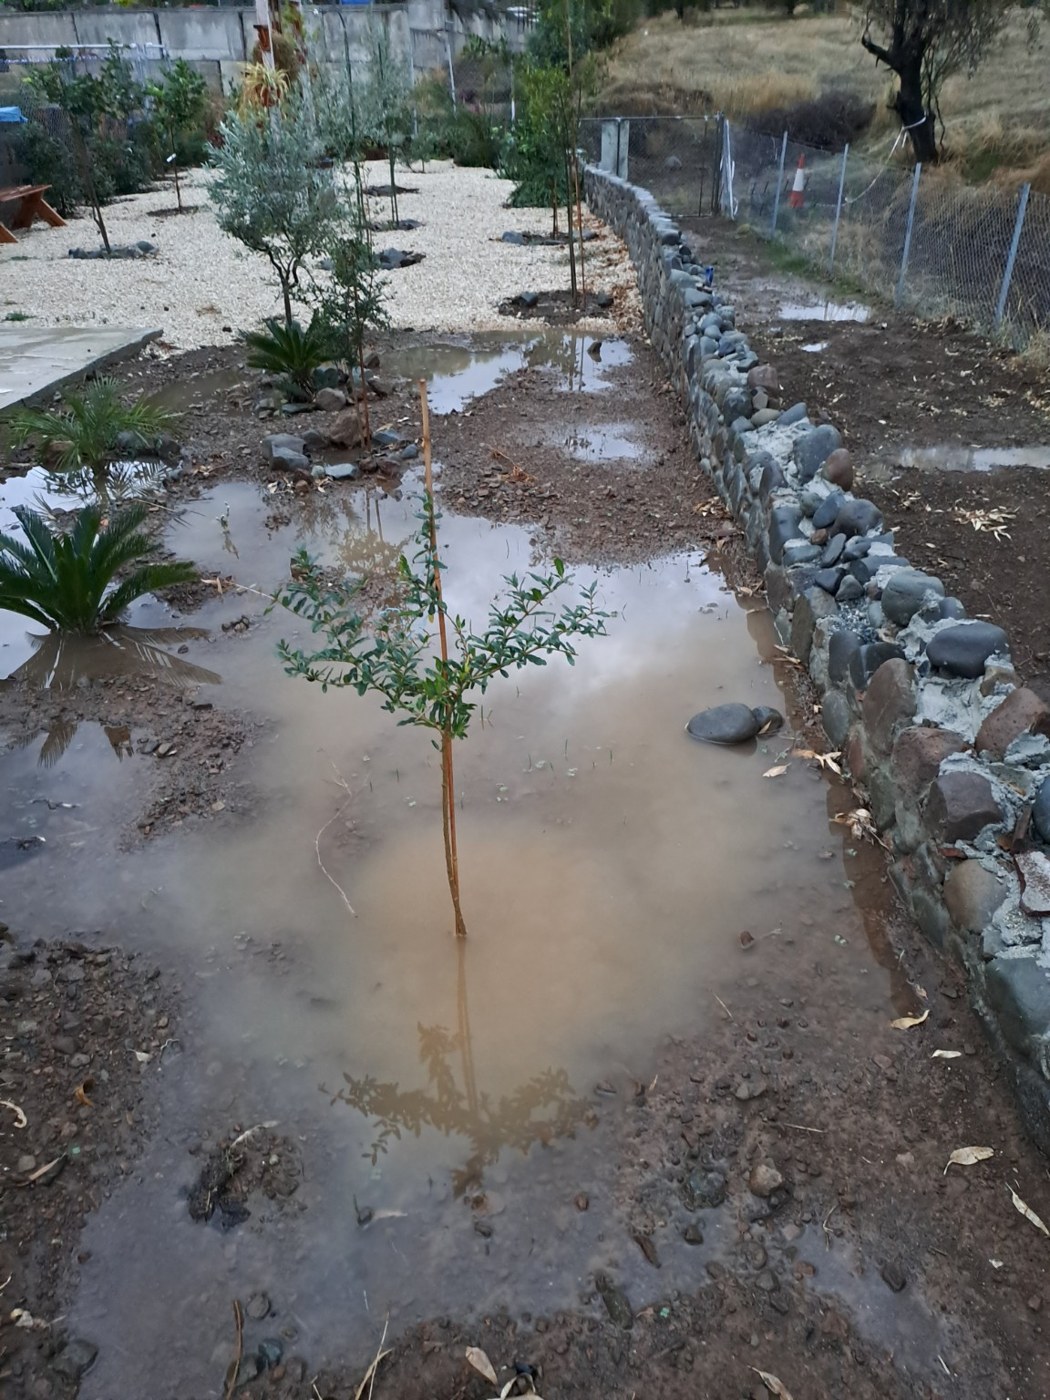
The garden’s had a proper soaking. After all the digging, gravel, fabric and mesh, it was time to see how the repaired outlet was looking.
The rain arrived
A quick reminder of the repair
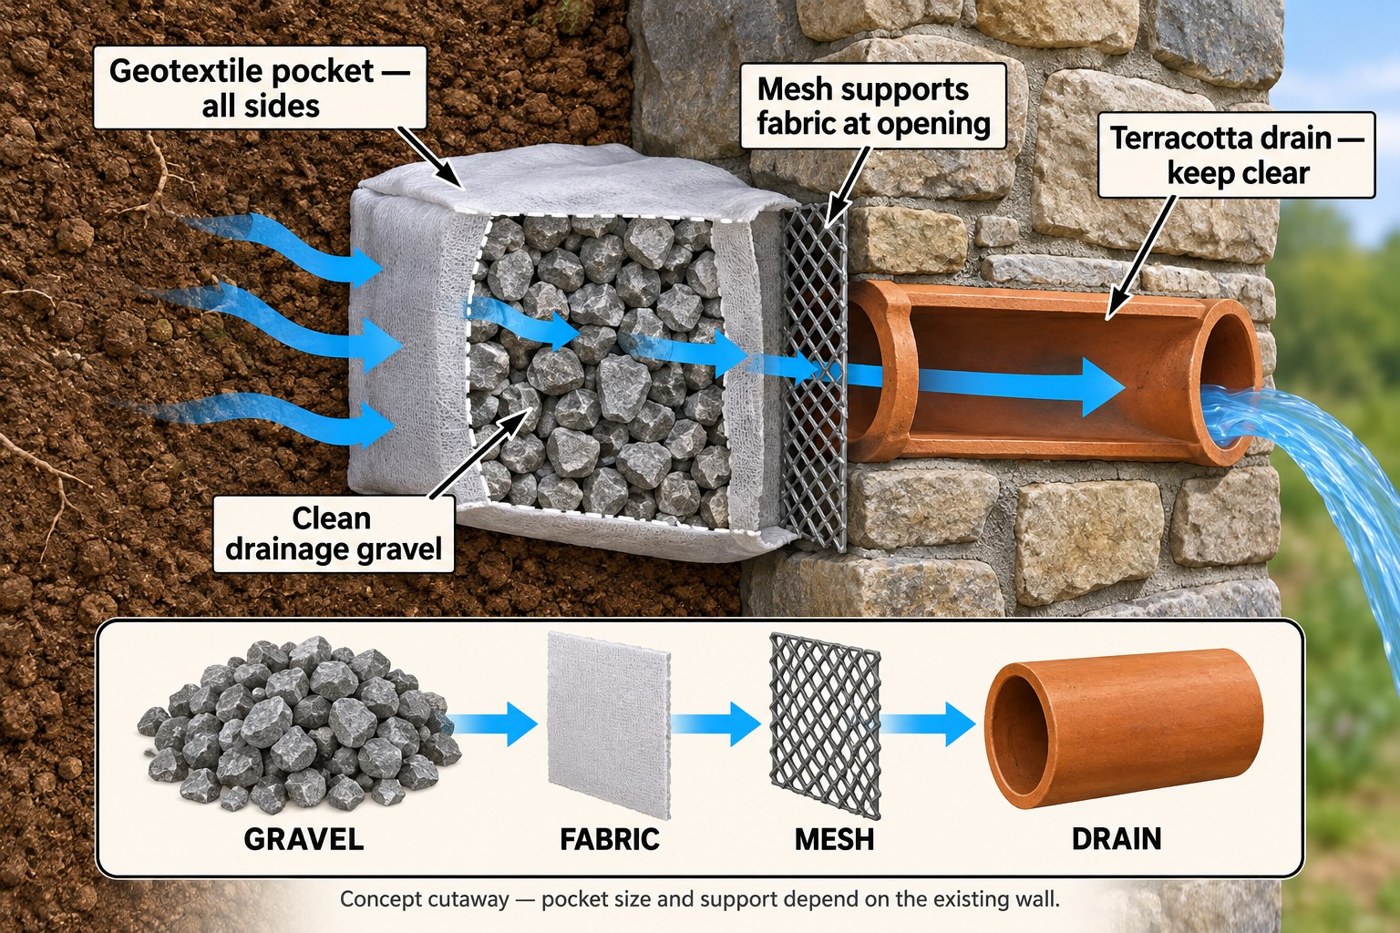
The repair used clean gravel inside a geotextile pocket, with mesh supporting the fabric at the terracotta outlet. The aim was to let water pass while keeping soil out of the gravel and reducing washout.
What we can see so far
In the close-up of the outlet side, there’s no obvious fresh muddy streak or soil deposit beneath the drain. That’s encouraging, but it’s an early observation—not proof that every drainage issue is solved.
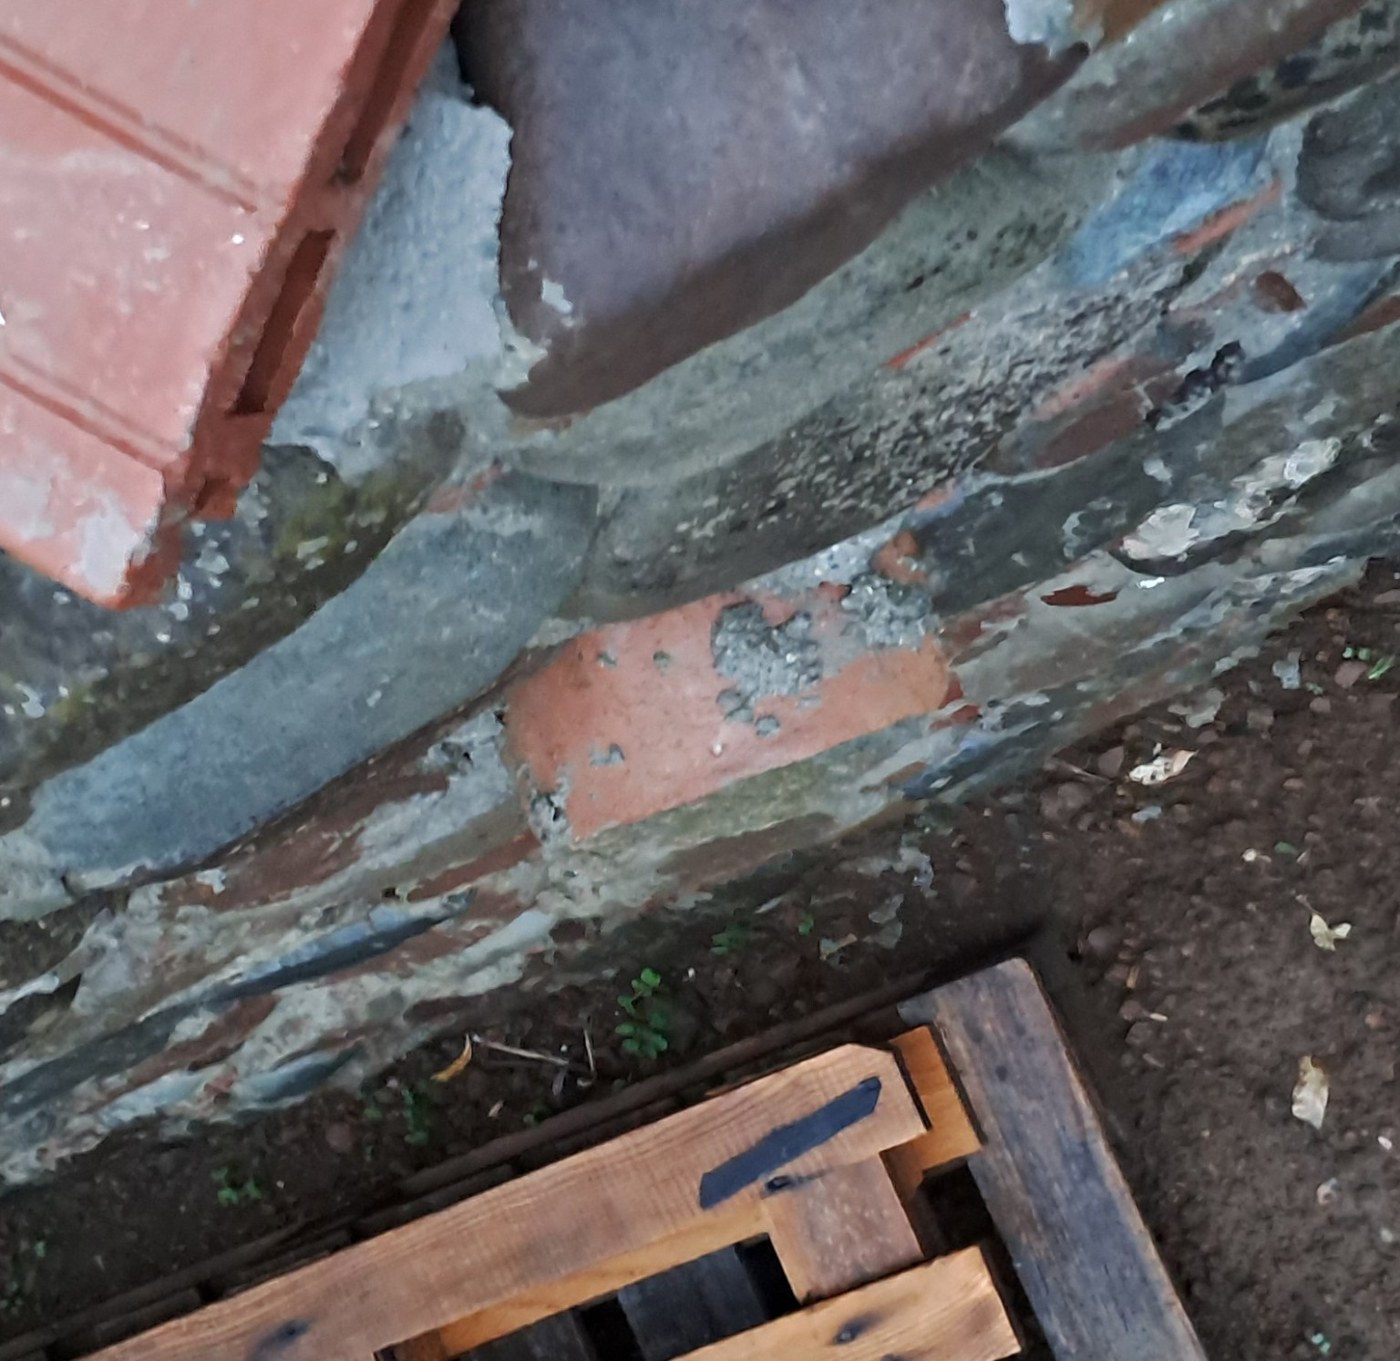
I’ll check again after further heavy rain for muddy washout, soil loss or settlement. For now: early days, but looking promising.
Maria spotted the opportunity for an update. I was too busy worrying about the water—and no, I’m not going pike fishing in me own garden!
— Greg the Geeza